Understanding Finish Trim and Its Role in Interior Spaces
Finish trim is an essential element in interior design that enhances the aesthetic appeal and functional quality of a space. It encompasses a variety of molded, carved, or plain materials used to cover transitions, conceal joints, and add decorative accents to walls, ceilings, floors, doors, and windows. Thoughtfully selected and expertly installed finish trim creates a polished, cohesive look that elevates the overall ambiance of any room.
In the realm of interior carpentry, finish trim includes baseboards, crown molding, casing, chair rails, and various decorative moldings. As a details-oriented aspect of finishing work, it plays a pivotal role in establishing stylistic coherence, balancing proportions, and framing architectural features. Whether aiming for a modern minimalist aesthetic or an elaborate traditional style, understanding the nuances of finish trim is fundamental for achieving a professional look.
For homeowners and contractors aiming for high-quality results, a natural starting point is to explore Finish trim options, materials, and techniques that best fit their project goals.
Definition and Types of Finish Trim
Finish trim refers to the carefully crafted moldings, strips, and detailing elements fitted around architectural features to produce clean edges and decorative accents. It distinguishes itself from rough carpentry by its precise fit, smooth finish, and aesthetic finesse. The principal types of finish trim include:
- Baseboards: Installed at the junction of the wall and floor, providing a visual transition that covers expansion gaps and houses electrical wiring or cable runs.
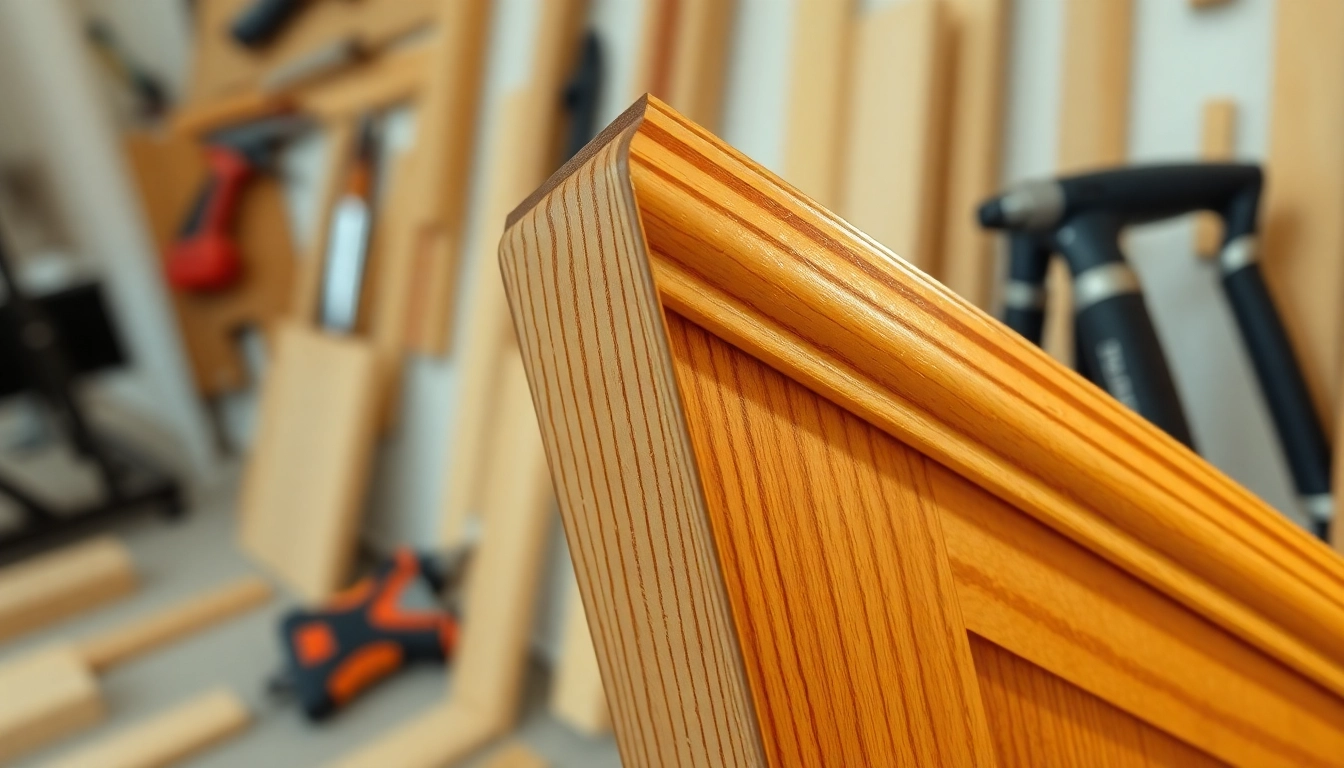
- Crown Molding: Horizontal trims placed at the ceiling line, adding grandeur or a subtle finishing touch depending on style and scale.
- Casing: Frames around doors and windows, enhancing their appearance while concealing gaps and uneven cuts.
- Chair Rails: Horizontal trims positioned typically at the height of a chair back, protecting walls from furniture dings and adding a decorative element.
- Decorative Moldings: Custom or pre-designed moldings that add character, such as dentil, egg-and-dart, or intricate floral patterns.
Each type of trim serves both functional and aesthetic purposes, contributing to the room’s architecture and style narrative.
Common Materials Used for Finish Trim
Selecting the right material for finish trim influences durability, appearance, installation complexity, and cost. Common materials include:
- Wood: The most traditional and versatile material. Options include solid hardwoods like oak, maple, cherry, and softer woods like pine. Wood allows for easy shaping, staining, and finishing but can be susceptible to moisture and pests.
- Medium Density Fiberboard (MDF): Engineered wood product offering smooth surface finish ideal for painting. It’s more affordable but less durable in moist environments.
- PVC or Vinyl: Synthetic materials ideal for humid or exterior conditions. They are resistant to moisture, pests, and environmental damage, and come in various finishes and styles.
- Polyurethane and Resin Composites: Flexible, lightweight, and highly detailed molded trims. Excellent for intricate designs and quick installation, often finished with paint or stain.
The choice of material depends on the project scope, environmental conditions, budget, and desired aesthetic. Professionals often recommend combining materials to optimize cost-efficiency and longevity.
Design Styles and Their Impact on Finish Trim Selection
Design style profoundly influences the selection and application of finish trim. The options range from minimalist modern to elaborate classical and everything in between.
– Modern and Contemporary: Clean, simple lines with flat or subtly beveled trims. MDF or veneer finishes with monochromatic paint schemes are popular. Minimal ornamentation emphasizes space and light.
– Traditional and Classic: Intricate crown moldings, elaborate baseboards, and ornamental trims such as rosette or corbel accents. Rich woods like cherry or mahogany complement these styles.
– Rustic and Cottage: Reclaimed wood, distressed finishes, and simple profiles that evoke warmth and charm. Wide boards and handcrafted details are common.
– Industrial: Exposed metal, rough wood, or utilitarian designs incorporating metallic finishes or weathered textures.
Understanding these styles helps select appropriate trim profiles, profiles, and finishes that harmonize with overall interior design goals, ensuring a seamless integration of aesthetics and function.
Step-by-Step Guide to Achieving a High-Quality Finish Trim
Preparation and Measuring Techniques
Accurate measurement and pre-planning are foundational for a flawless finish. Start by carefully measuring the length of walls, door openings, and window frames using a reliable tape measure. Account for material expansion, joints, and any irregularities in walls or ceilings.
Create a detailed cutting and fitting plan, noting where joints, corners, and transitions occur. Use a laser level or chalk line to ensure straight, consistent lines. Cutting should be done with sharp, high-quality saws—whether a miter saw for angled cuts or a coped saw for complex joints.
Pro Tip: Always double-check measurements before cutting, and consider ordering slightly longer pieces for allowances. Practice on scrap pieces to perfect cuts and joints.
Cutting and Fitting with Precision
Precision in cutting and fitting is critical for aesthetic appeal. Employ miter, bevel, or coped joints as appropriate for corners and transitions. Miter joints (typically at 45 degrees) are common for corners but require accurate angled cuts to ensure tight fits.
Coped joints, which involve shaping one piece to fit seamlessly against an adjacent profile, often provide a superior fit in complex layouts, especially in rooms with irregular angles.
Use a high-quality saw and clamps to stabilize pieces during cutting. Dry fit each piece before permanent installation to identify and rectify any discrepancies.
Applying Paint, Stain, or Sealant for a Perfect Finish
The finishing process elevates trim from good to exceptional. For painted trims, prime surfaces first to ensure adhesion and uniformity. Use high-quality latex or oil-based paints recommended for trims—Benjamin Moore Aura, for example, has garnered praise for its durability and smooth finish.
Stained woods require a pre-sanding process with fine-grit sandpaper, followed by choosing a stain that accentuates the grain. Seal with a clear polyurethane or satin finish for protection.
Pro Tip: Use a high-quality brush or foam roller to minimize brush marks. For a seamless look, consider spray finishes for large or detailed pieces.
Achieving a smooth, even surface often involves multiple coats with light sanding between layers, ensuring a flawless final appearance.
Best Practices for Installing Finish Trim
Tools and Materials Needed for Flawless Installation
- Miter saw and hand saws for precise cuts
- Hammer or nail gun with finishing nails
- Adhesive for additional securing if necessary
- Level, square, and measuring tape for alignment
- Caulk gun and flexible caulk for filling gaps
- Paint, stain, or finish as selected
- Sandpaper or sanding blocks for smoothing joints
Techniques for Accurate Alignment and Secure Fixing
Begin by marking your layout carefully, confirming measurements and angles. Use a level and square to ensure trims are perfectly aligned. Fix the trim with finishing nails or a pneumatic nail gun, placing nails about every 16 inches for stability.
Drive nails just below the surface and countersink them with a nail set. Fill nail holes with wood filler or caulk and sand smooth before finishing. Always check alignment frequently during installation to prevent drift or gaps.
Common Mistakes to Avoid During Installation
- Measuring only once; always verify multiple times before cutting.
- Ignoring wall irregularities; adapt cuts or use shims to compensate.
- Using inferior tools or low-quality materials, leading to poor fit or finish.
- Over-tightening nails, which can cause splits or warping.
- Neglecting proper surface preparation, resulting in peeling or uneven finish.
Adhering to meticulous installation practices ensures that finish trim contributes to a professional-grade appearance and durability.
Enhancing Durability and Visual Appeal of Finish Trim
Finishing Techniques for a Smooth and Even Surface
Achieving a smooth surface involves careful sanding between coats of paint or stain. Use fine-grit sandpaper (220 grit) to eliminate any imperfections, dust, or brush marks. For painted trims, applying primer helps create a uniform base, reducing the likelihood of peeling or uneven coloration.
Choosing the Right Paint or Finish for Longevity
Selecting durable paints and finishes tailored to the environment is crucial. For interior trims, latex paints with high sheen levels—such as semi-gloss or satin—offer easy cleaning and resistance to scuffs. For areas exposed to moisture or high traffic, consider waterproof or mildew-resistant formulations.
Maintaining and Touching Up Finish Trim Over Time
Regular inspection and cleaning help maintain the appearance of your finish trim. Minor scratches or chips can be touched up with matching paint, stain, or sealant. For larger repairs or refinishing, sand the affected area, reapply primer if needed, and repaint or restain to restore the look.
Using protective moldings and avoiding excessive contact or harsh cleaning chemicals will extend the life and aesthetic of your finish trim.
Design Inspiration and Modern Trends in Finish Trim
Popular Styles for Contemporary Interiors
Modern interior design favors clean lines, minimal ornamentation, and functional elegance. Flat or lightly rounded profiles for baseboards and crown moldings create a sleek look. White or neutral painted finishes are typical, emphasizing space and light. Incorporating hidden or recesses in trim profiles can add subtle sophistication.
Creative Uses of Finish Trim in Accent Walls and Ceilings
Beyond traditional applications, finish trim can define accent walls with rich molding patterns or modular panels. Ceiling trims with layered moldings or decorative medallions create focal points. Combining different trim profiles or contrasting colors introduces visual interest and personality to a room.
Tips for Customizing Finish Trim to Match Your Decor
Personalize your space by customizing trim details—painting trims in bold or contrasting colors, adding decorative rosettes or medallions, or integrating LED lighting into crown moldings. Custom profiling and intricate carving can reflect historic or eclectic styles, providing unique character.
Consult with design professionals or use online visualization tools to experiment with different styles before implementation.